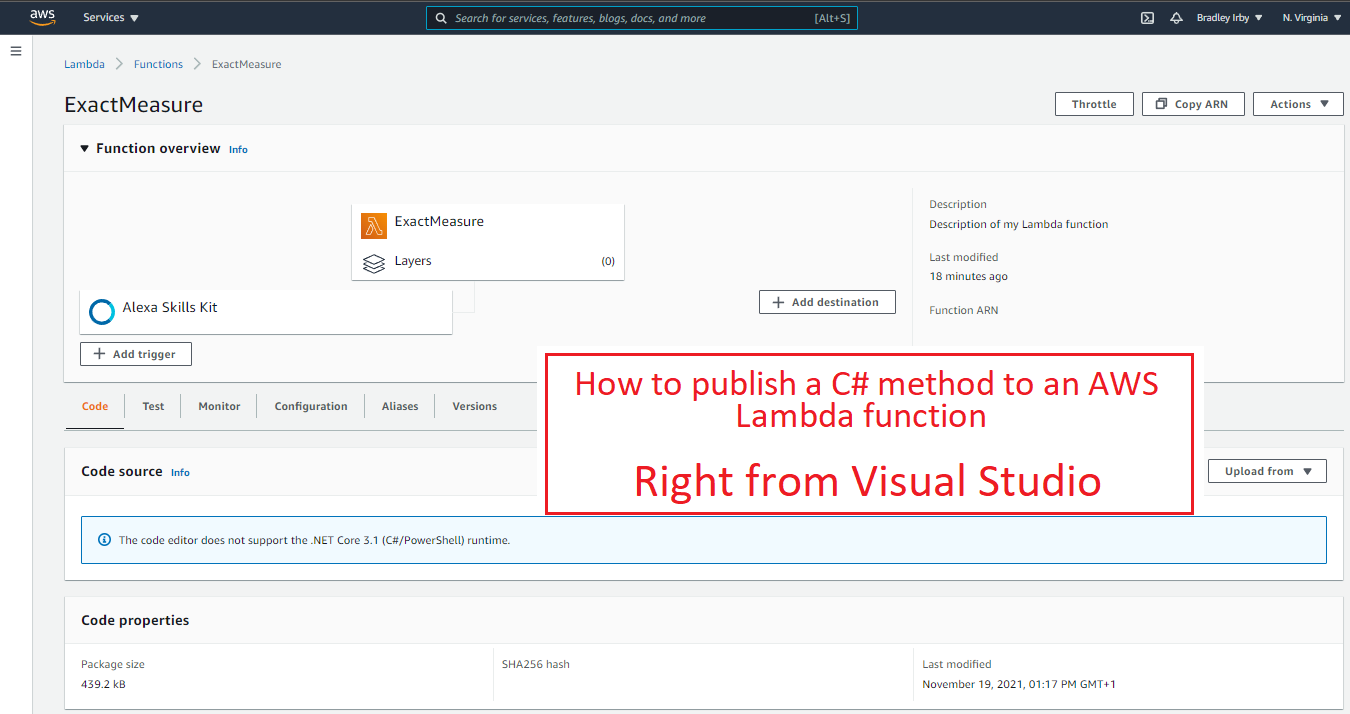
Publishing a C# function to an AWS Lambda is not difficult. Amazon has provided a Visual Studio add-in that does nearly all the work for you – as long as you get it setup correctly. This is a short tutorial showing just where to get the different pieces of info you need to publish your method.
Lay the Ground Work
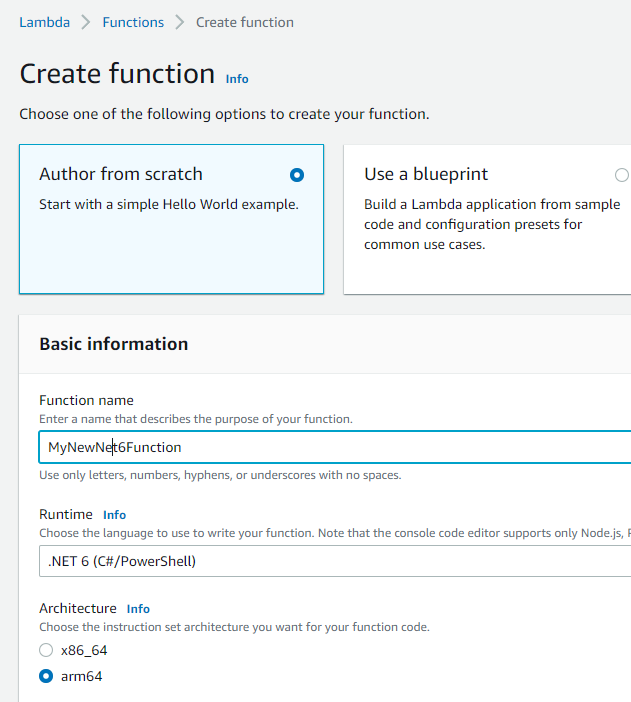
Create the new Lambda by opening your Lambda Home page and press “Create function” to get the screen shown below. Configure your Lambda as shown in the image on the right, then press Create.
You may choose either .NET 6 or .NET Core 3.1, depending on your needs. I run my .NET Core workloads under the arm64 architecture because it is less expensive to run, but choose the x86_64 if you like.
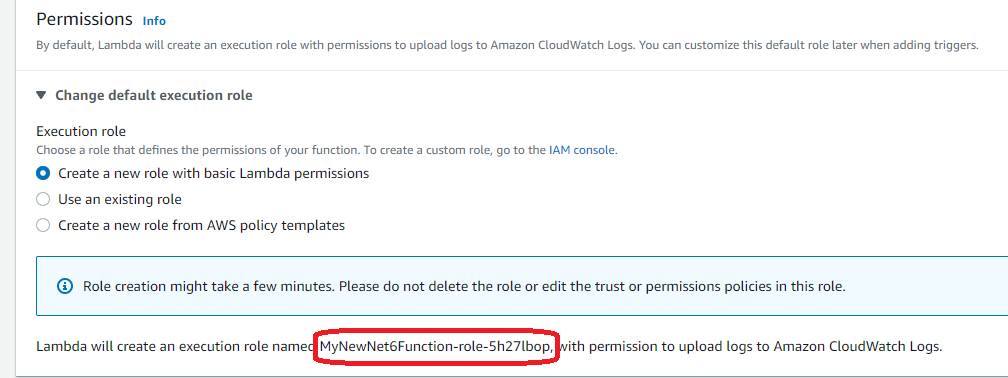
At the bottom of the Lambda Creation screen you will see an area for “Change default execution role”. Expand that to see the options.
On the bottom of this screen you will see the name of the new Lambda execution role that will be created. Make a note of this role name since you will need it later.
When you are done press the Create Function button.
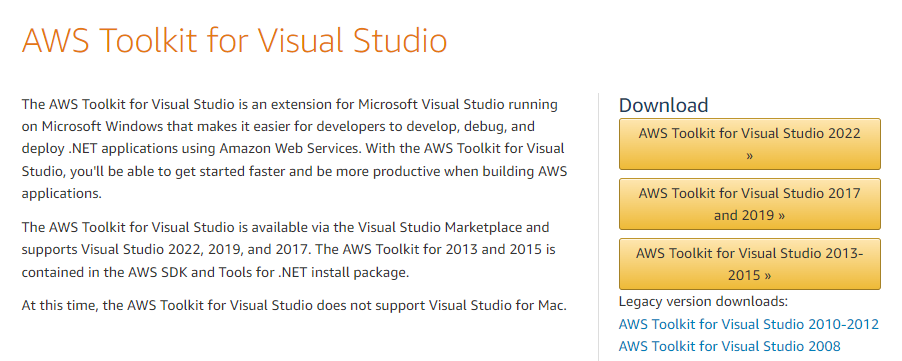
You will need to have the AWS Toolkit installed in Visual Studio. In this example we are using Visual Studio 2022 so I have the 2022 version installed. VS2019 users should install the AWS Toolkit for Visual Studio 2017 (a 2019 version does not exist).
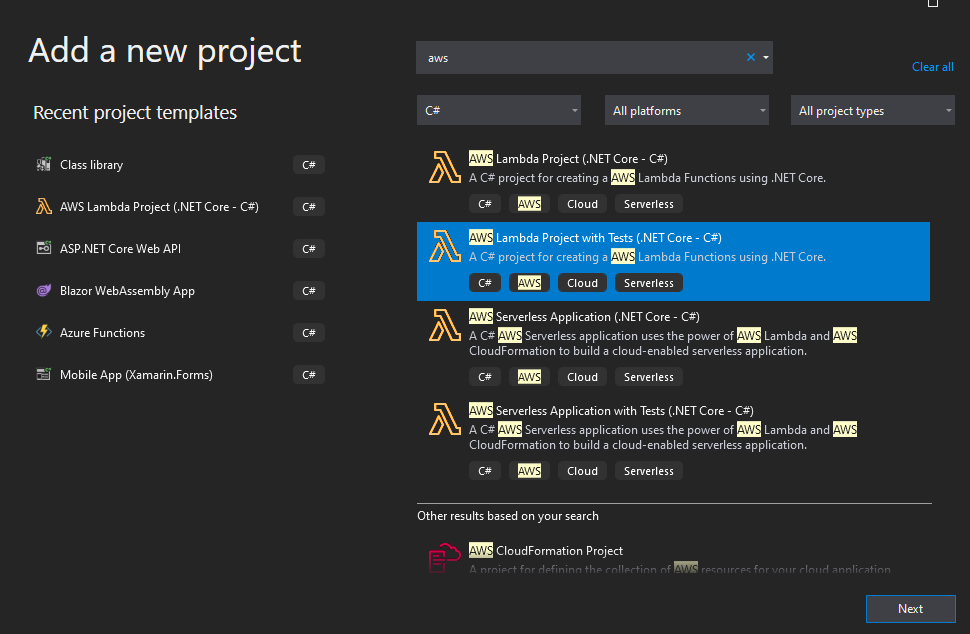
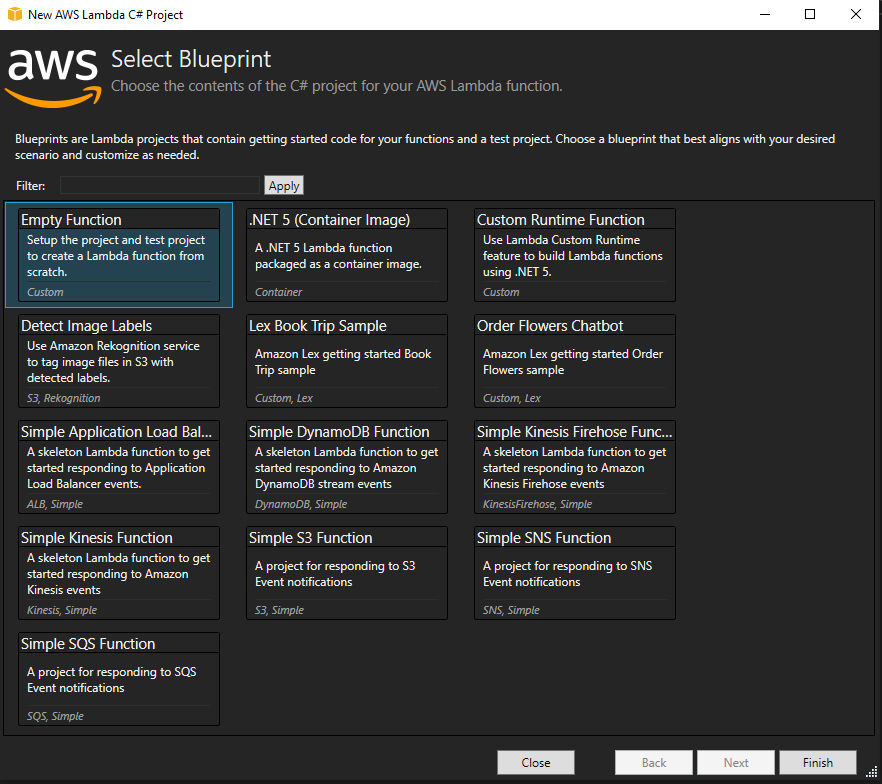
To publish a C# method to an AWS Lambda function all you need is a normal class library project. However, the AWS tool provides a special project type that has a lot of the settings you need already wired up. It provides a blueprint project (shown in the screenshot below) that allows you to choose many different kinds of functions. For today, were just going to choose the empty function.
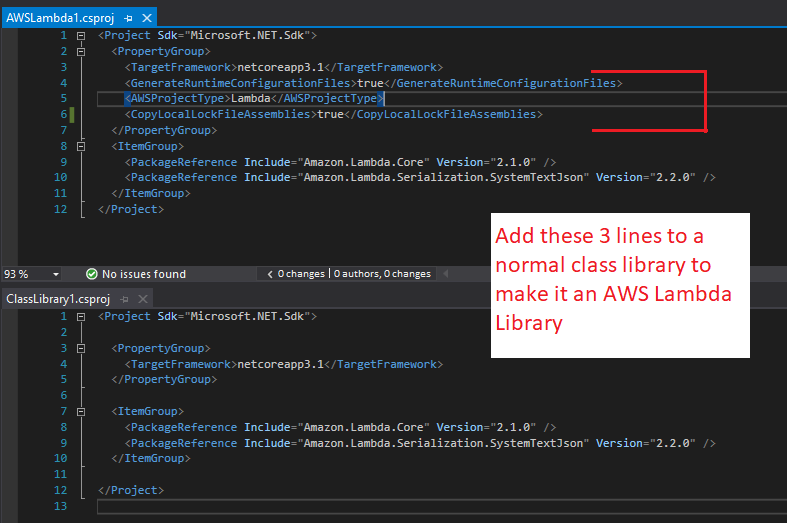
If you want to convert an existing project to one that can be published with the Alexa tools, it is not difficult. Just add the 2 nuget packages
- Amazon.Lambda.Core
- Amazon.Lambda.Serialization.SystemTextJson
and update the project file by adding the the three lines shown in the image to the ProjectGroup.
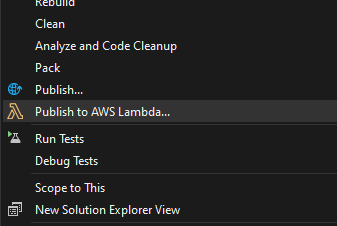
When your project is configured for publishing, you should get the context menu shown when you right click the project.
Publishing from Visual Studio
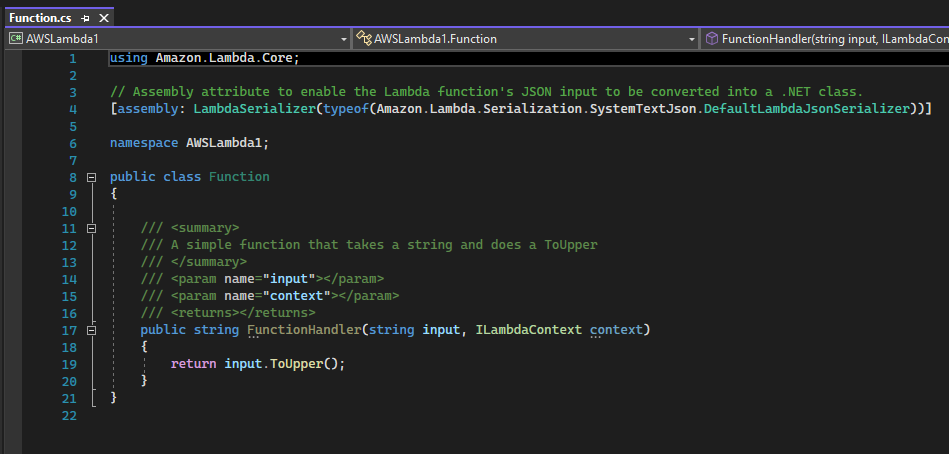
Now we are ready to publish our C# method to the AWS Lambda. The sample Lambda function given by creating a new project is very simple. If you want to convert an existing method to this, just add the assembly reference.
[assembly: LambdaSerializer(typeof(
  Amazon.Lambda.Serialization.SystemTextJson.DefaultLambdaJsonSerializer))]
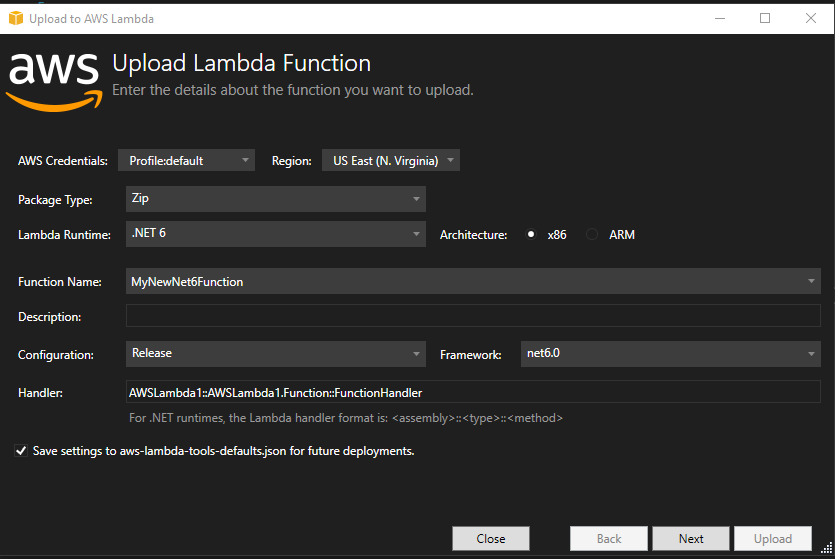
So we’re finally to the important part. Right click the project and choose Publish to AWS Lambda. You should see a screen similar to the one on the right.
It is not very clear what the Handler parameter contains, so here is a breakdown. Each piece below is separate by two colons
- Assembly Name (in this case AWSLambda1) This is often, but not necessarily, the name space. You can find it in the Project Properties under Application -> General -> Assembly Name
- Fully qualified class name (here we have AWSLambda1.Function)
- Method Name (for us it’s FunctionHandler)
These three parameters give us the final result of
AWSLambda1::AWSLambda1.Function::FunctionHandler
GOTCHA: Note that if you change the Function Name, or click Next then Previous, the Handler setting will reset to it’s original value.
If you run the lambda and get an error saying “Could not find the specified handler assembly with the file name ‘LambdaTest'” this is probably what happened.
The first time you publish your method you will have to choose the Role Name. This is the name we created earlier so choose the proper one from the drop down box. If you get a red error about SQS Queues, you can ignore it.

Once the publish is complete, you should see a screen to use to test your new installation. Entering some text and pressing the Invoke button should echo back the text in all capital letters.
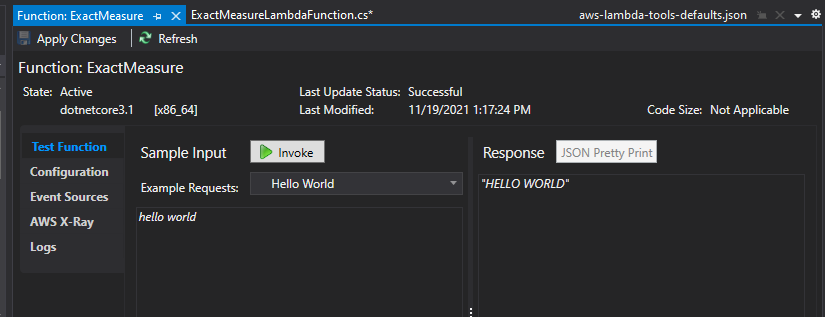
And that’s it. Your function is published and ready to go.
Leave A Comment