The Microsoft Azure Text Moderation API is offered as part of the Azure Cognitive Services and allows users to easily moderate text that may come in from an outside source, such as a product review, email, or blog comment. With this service you can ensure there is no offensive content you need to block. The moderation feature is available in many different languages, though you must specify which language you are using when you submit text for review.
Before you can use this API, you need to create a Text Moderation Service in the Azure portal. This is easy to do and you can have a new endpoint up and running in about 5 minutes.
Before beginning, you need to have an Azure subscription. If you are just starting out, it can be a bit confusing because you can register with Azure services without having a subscription. Just registering without creating a subscription allows you to look around at what is offered, but you cannot do anything that requires billing. That’s where the subscription comes in.
The most common subscription is the Pay-As-You-Go service and it’s good for testing so if you don’t have one, sign up now.
To create the Azure Text Moderation API endpoint, start by going to your portal. In the top left corner, you’ll see “Create a Service”. Click that button.
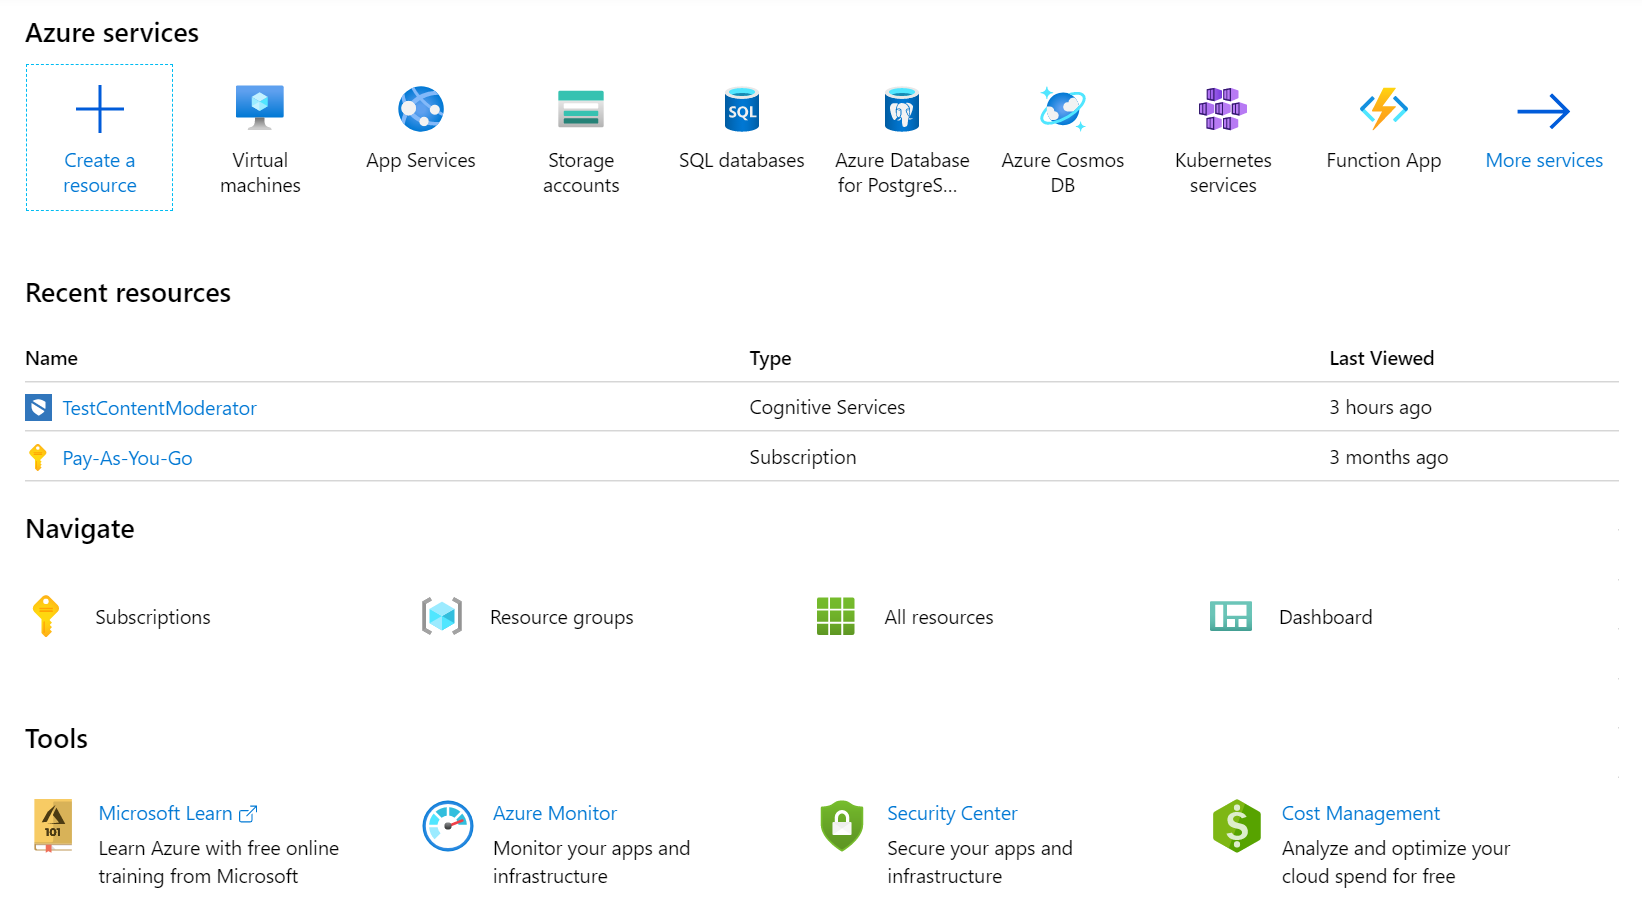
If you search for Content Moderation…
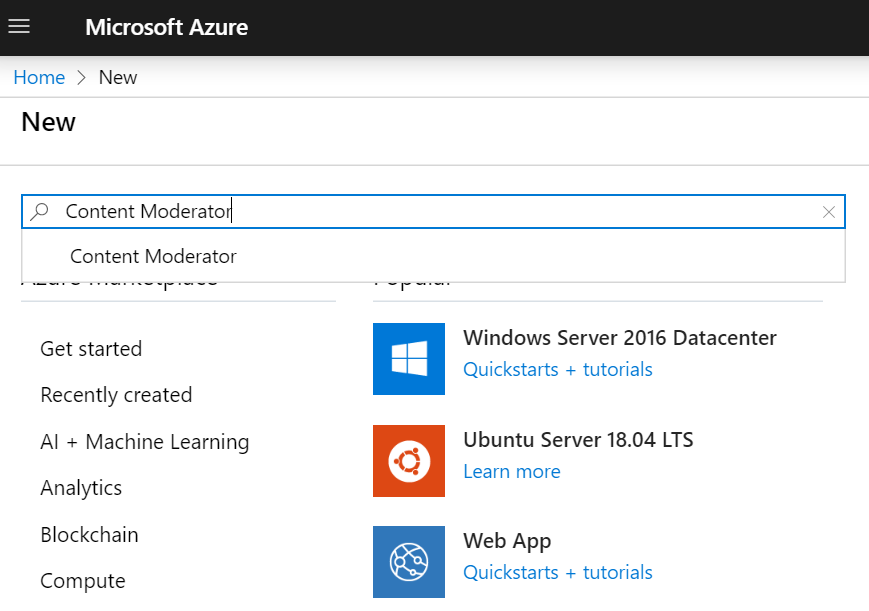
… it lets you create the service.
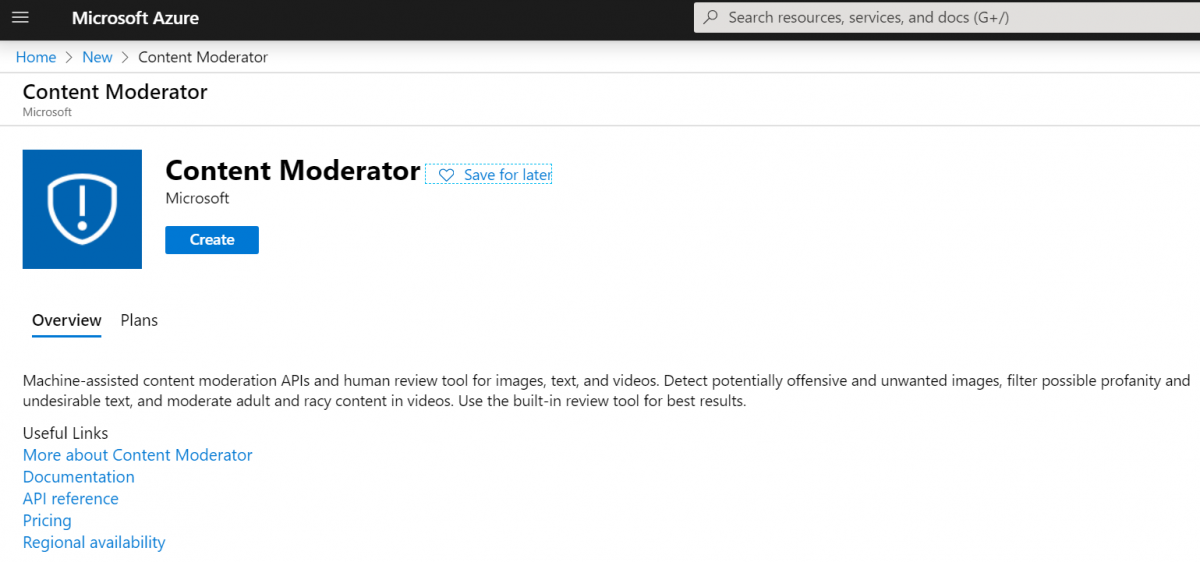
The settings for the service are straight forward. Add any name you like, choose a subscription and location. For testing the S0 pricing tier is more than sufficient. You can use either an existing resource group or create a new one (A resource group is just a category – a way of keeping resources together for a specific project).
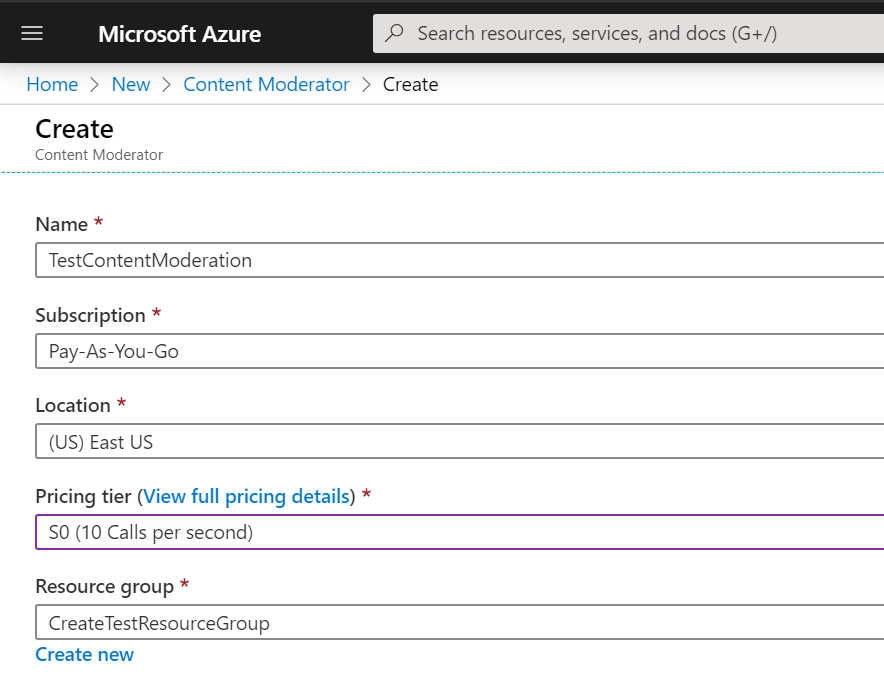
Enter the values and click “Create New”, and your deployment will start.
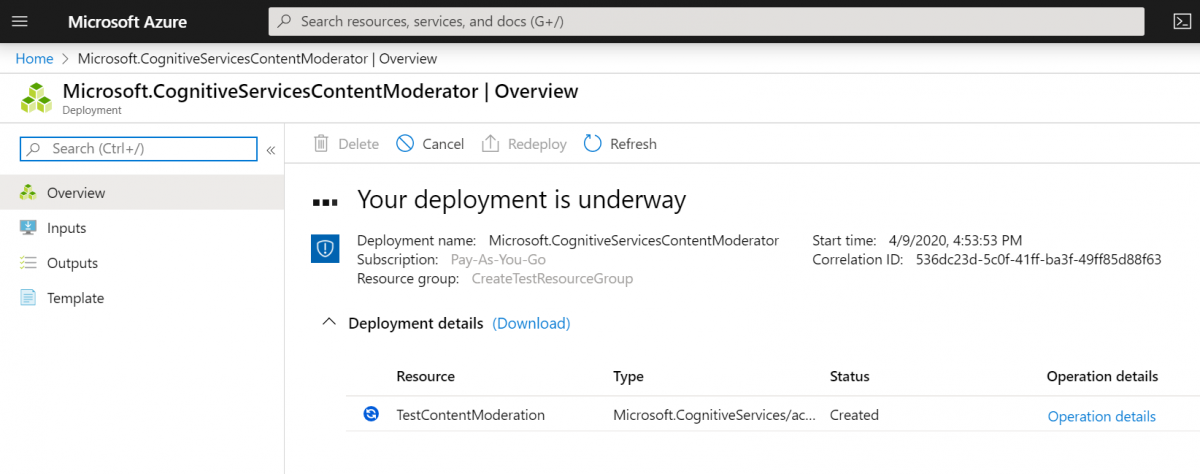
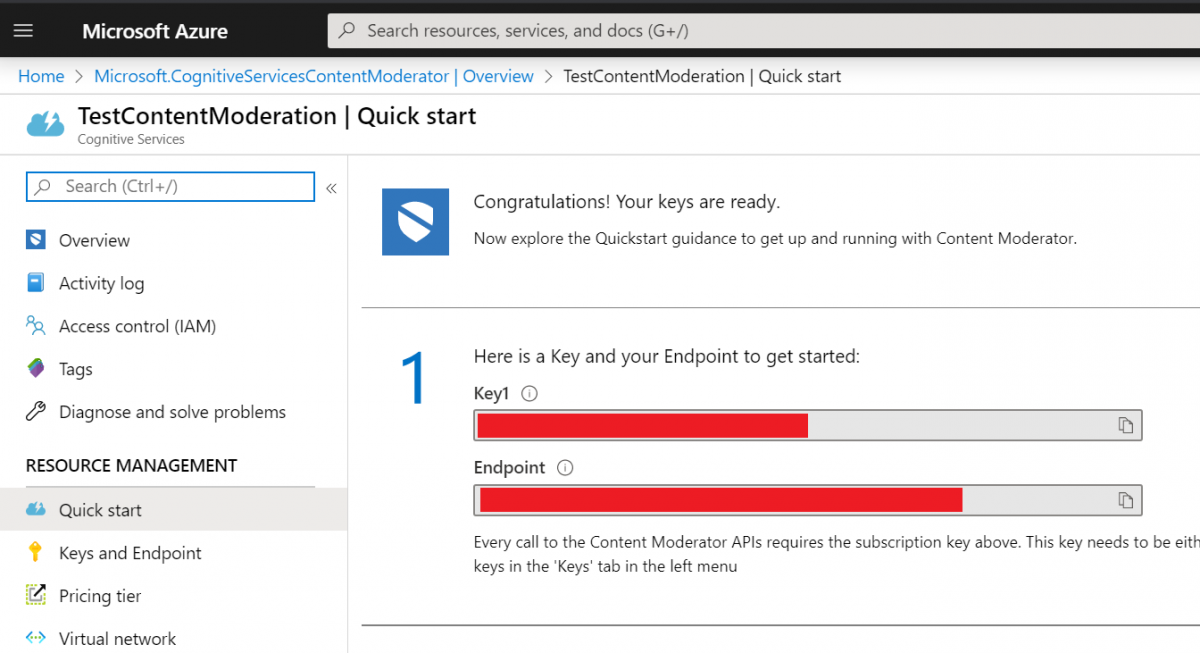
When that completes you will have an active endpoint. Be careful with the key and the endpoint because that’s all anyone needs in order to use your service. These should be kept in a safe place.
When you are done with your service, you can delete it easily by clicking the Overview button in the top left corner.
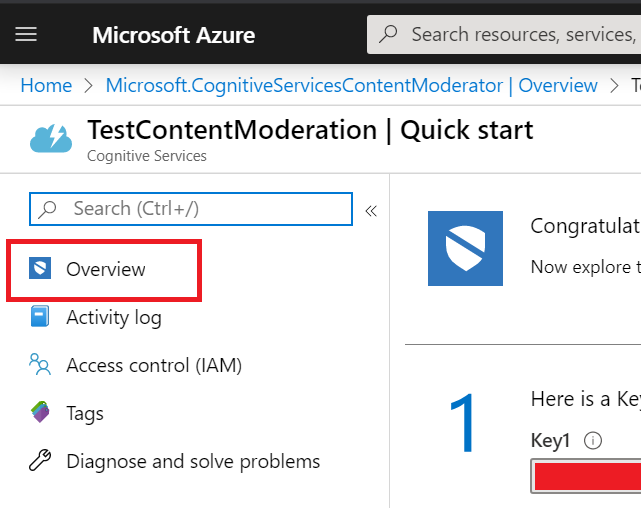
That will take you to a screen with the Delete button. Press the Delete button, wait about 15 seconds, and you will no longer be paying for the service.


Leave A Comment